
This is not one of those recipes that claims its whole grain and then when you scroll down it reads—¼ cup whole grain and 2 cups plain flour. Just wanted to get that out of the way right off the bat. Here’s the split up of these (mostly) whole wheat waffles: 1 ⅙ cups whole wheat and ⅓ cup plain flour (don’t worry, I’ve given the measures in weights below).

Flour(s): getting moist, fluffy waffles using only whole wheat flour is nearly impossible. You’ll have thick pucks at best. Whole wheat being a denser flour doesn’t give you the rise that the lightness of plain flour provides. I played around with the blend to optimize the amount of each. This recipe uses just enough plain flour to keep them light, while at the same time remaining predominantly whole wheat. The added leavening agents—bicarb and baking powder—assist with this.
Liquid(s): so the deal with liquids in a waffle batter is this: buttermilk gives them that desirable sourness while at the same time keeping the insides moist. Milk on the other hand helps with crisping them up. We want the best of both worlds here: a crisp exterior with a moist interior. This combination of buttermilk and milk gets that job done. (Note: if you don’t have buttermilk on hand, I’ve included a neat trick to make some near-instantly. I would suggest using this method regardless though; even if you have store-bought/homemade buttermilk in stock.)
Resting: making the batter works the gluten in the flour. Here’s where resting it becomes key. An overworked batter will result in a stodgy, elastic waffle. Once you’ve made your batter, let it sit in the fridge for 10 mins or so to allow the gluten to rest before cooking your waffles.

A bit of melted butter in the batter ensures that the waffles brown nicely, and also don’t stick to the waffle iron. Most recipes I looked up used more than double the quantity of butter that I’ve used in this recipe. As someone that’s always looking to reduce sugar and butter in everything that I cook, I reduced both by quite a bit. Depending on what you’re going to be serving the waffles with, adjust sugar levels (syrup? Then reduce sugar. Plain? Increase slightly).
A few other things: you want to make sure the waffle iron is hot before you dollop the batter onto it. A cold iron results in a soggy waffle. Waffles start to lose their crunch when they sit around waiting for you to finish making the rest of the batch. This step may seem a bit superfluous, but if you really care about achieving maximum crispness, keep the ones that are cooked in a low oven (120 C) while you make the rest. I obviously don’t have the patience for this and dispense with this step, but can attest that it works.

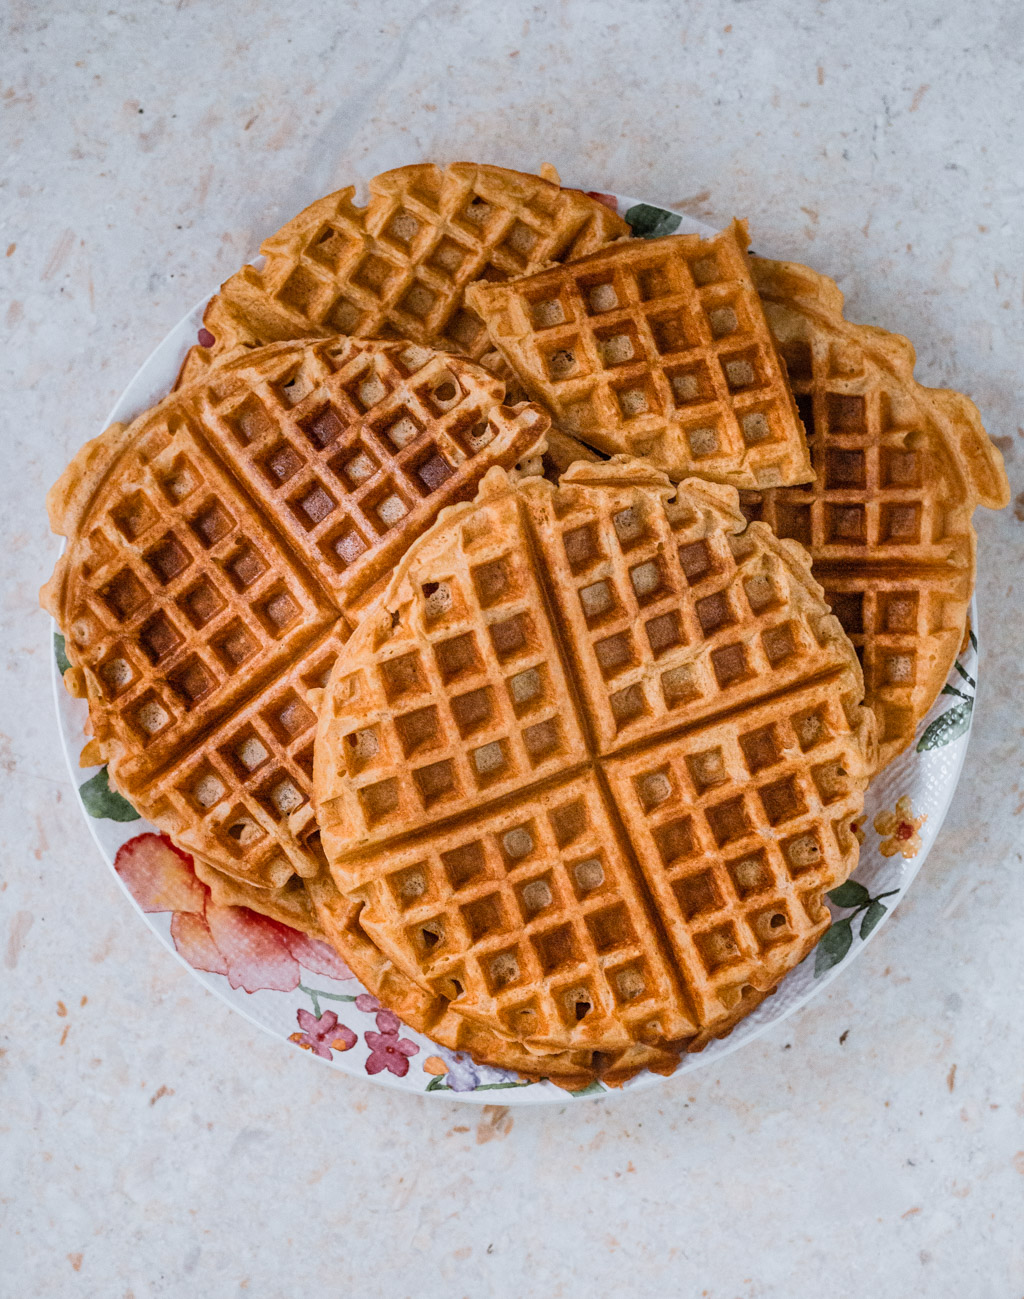
(MOSTLY) WHOLE WHEAT WAFFLES
Ingredients
Dry ingredients:
- 145 grams whole wheat flour (1 ⅙ cup)
- 40 grams plain flour (⅓ cup)
- 1 tablespoon sugar
- 1 ½ teaspoons baking powder
- ½ teaspoon baking soda
- ⅛ teaspoon salt
Wet ingredients:
- 1 cup milk
- ½ cup buttermilk (see recipe)
- 50 grams unsalted butter
- 2 eggs
Instructions
- Make the buttermilk: add ½ cup milk to a glass. Stir in 1 tsp of lime juice. Stir and let it stand for 5 mins, then use.
- Melt the butter in a saucepan or in the microwave.
- Add all the wet ingredients to a bowl: milk, buttermilk, eggs, and melted butter. Whisk to combine. (Retain the butter bowl; use the remaining butter in it to brush the waffle iron before cooking the waffles).
- Add all the dry ingredients to another bowl and stir it around. Make a well in the centre and pour in the wet ingredients. Using a spatula, stir gently and just so they are combined. (Note: Over-working the batter will make the waffles dense, so avoid stirring any more than necessary).
- Rest the batter in the fridge for 10 mins. Heat the waffle iron whilst the batter rests.
- Brush the iron with a tiny bit of butter on both sides. Dollop a ladle of batter onto the heated waffle iron and cook until golden. (Follow the manufacturer’s instructions.)
- Rest the cooked waffles in a preheated 120 C oven while you make the rest. This is an optional step, but ensures that they stay crisp until you’re ready to eat them.
- Serve with topping(s) of choice.


Leave a Reply